Monday, January 30, 2012

Symmetrical Name Design Creatures

With last week the beginning of a new semester it is also a new beginning here in the art room. My class is only a semester long and I got a new group of kids last week.

To begin this semester off I wanted to see how creative the kids can be as well as assess their problem solving skills when it comes to visual work.

To begin with we folded a 12x18 size paper in half the long ways (i also tell the kids it is like a hot dog cause they use that in the elementary schools) and they need to write their names on the fold nice and big.


Next they need to create a mirror reflection of their name, the kids held up the paper to a window to trace their name since I don't have a light box.


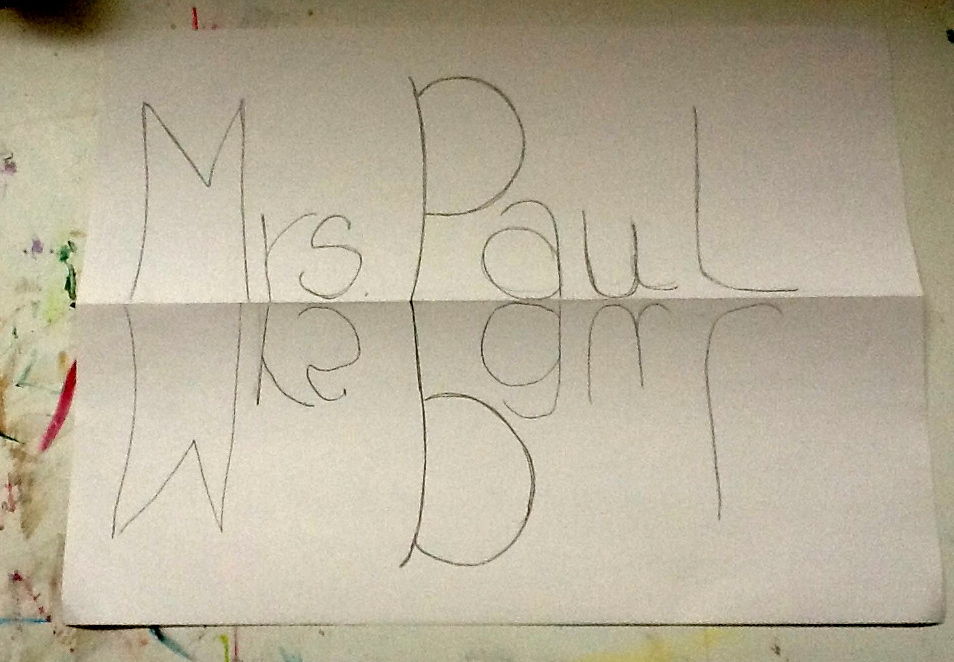
At this point they need to turn their paper vertical.


Here is where their creativity and problem solving skills come into play. They need to create a creature -- insect, animal, or monster -- using the letters from their name as a base. they get to add lines and shapes but they cannot take away. 


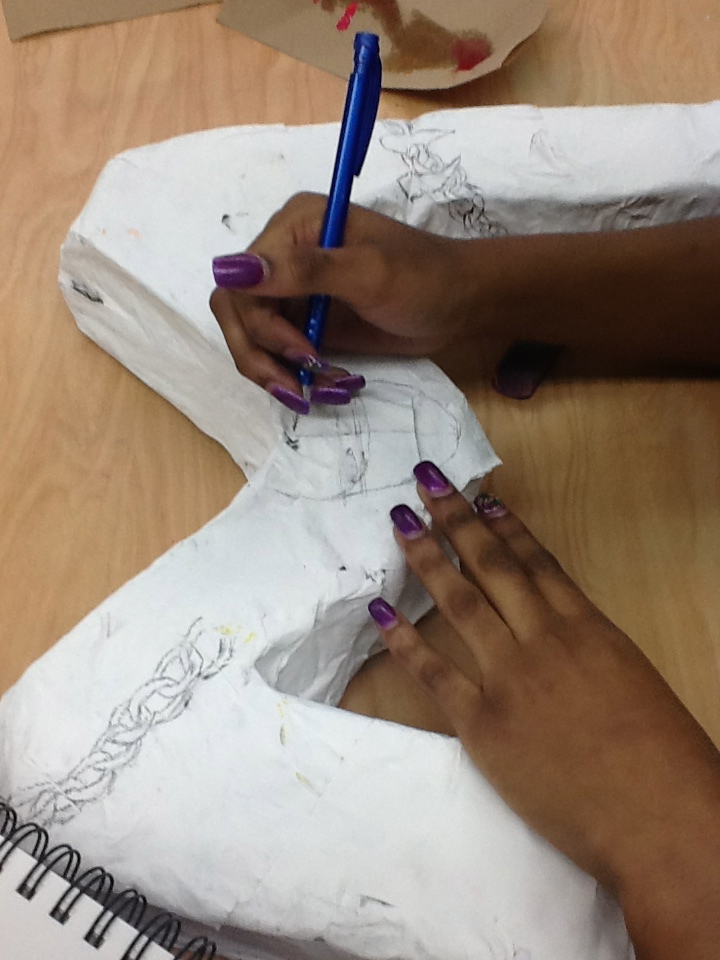
Once the drawing is done they have to trace all lines with a black crayon and then paint in with watercolor paints.


Since the kids are in the last day of completing them I will have pictures of their work up later on in the week.

Sunday, January 22, 2012

3D Illuminated Letters Final Post

Here we are with the final pictures of the 7th graders 3D letters. After we used the Elmers art paste to attach the newspaper to our base, the students painted a layer of gesso or primer.


Half way through all the students, we ran out of gesso and had to use white tempera paint. Unfortunatly, this way I will run out of white paint very quickly but the students were so happy with the way their letters were turning out I am not sure I care.

Once the gesso was dried, the students began to add designs onto their letters using tempera and acrylic paint. Some of the students drew out designs first then added color (this way took longer but looks neater) and others just added color.


The letters came out amazing in the end. This was my first time teaching this lesson and I am extremely pleased with the outcome. I cant wait to see how they will turn out next year!

Tuesday, January 17, 2012

3D Illuminated Letters

For the 7th sculpture project this first semester, we are completing large scale illuminated letters. We looked at the illuminated manuscripts of the middle ages as well as some Islamic calligraphy. 


Once we constructed the letters with oak tag and clear plastic cups (colored ones or paper cups also work) the students began to add newspaper using the paper mache method. We used Elmers art paste to create the glue for the newspaper.


In doing this project I have noticed something about my students. All the girls had no trouble getting their hands all covered in the glue but the boys were very hesitant about getting dirty. I was really surprised by this since it is usually the opposite.


With two days left in the semester (which ends this batch of art classes) the students are finishing up the final touches. I will have an update later on this week with more pics of the final process.